***You do not have to screetprint the CODE and RUN for every step. You can wait until the end as long as you can prove that you have mastered all of the tutorials.***
***Place in the CSS Category. Please save as CSS1.html, CSS2.html, and so on. You may also just put them together as one CSS.html.***
—
CSS LESSON 1 Assignment:
- What is CSS? How is it different from HTML?
- Show me your own example of CSS Syntax with each part labeled (what they are called). You can take a picture from your notes, write it out in Notepad++, Paint, or Word. The method is up to you.
- Screenprint an ID and Class selector in both CODE and RUN.
- What are the three ways to insert CSS? Which one will we be using the most in class?
- Screenprint a CSS comment tag that answers this question: Why is the sky blue?
—
CSS LESSON 2 Assignment:
- Change the color of an h2 that says Web Design Rocks to yellow.
- Center that same h2.
- Create a link to your blog which removes the line underneath. Remember, you should never have the entire link displayed when you RUN.
- Type your name within an h3 and place an overline on it.
- Use either a text transformation or indentation is some fashion.
- What is the difference between a system font and a web font? Why would you rather use a web font?
- Which type of font should you use within your body text? Explain. Where could you use the other type of font?
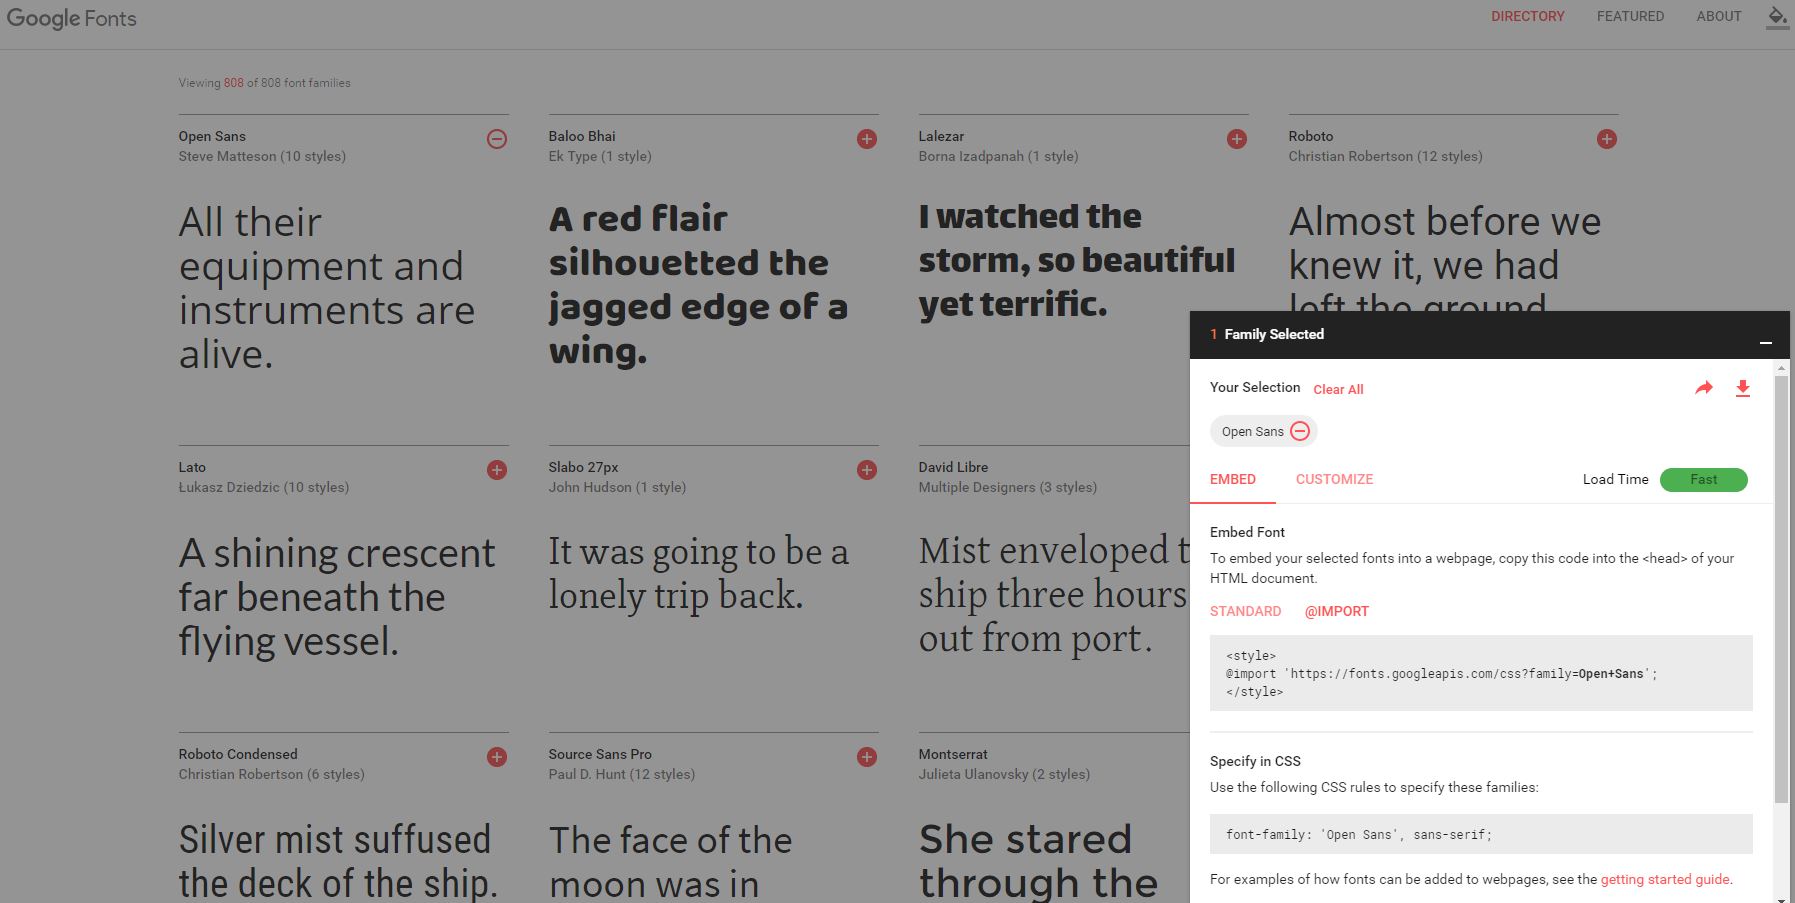
- The Google font webpage has changed slightly. Click on the + and use the link OR import code on the flyout menu.
- <link href=”https://fonts.googleapis.com/css?family=Slabo+27px” rel=”stylesheet”> <— Goes inside the head section
- Select 3 different web font families, type (#1: Google Font Example Sentence: If the cafeteria staff served chocolate chip pancakes today, I would be in heaven!) 3 random thought sentences, take a screenshot of the CODE and RUN, and post your results on your blog.
- Which GOOGLE FONT do you feel could capture the feel of your site? Why?
- If you’re using multiple fonts, you must place a | between each one.
- @import url(http://fonts.googleapis.com/css?family=Oswald|Lora|Lobster); <- DON’T USE MY EXAMPLE FONT FAMILIES
- WHEN FINISHED, take a screenshot of your CODE and RUN components. Post to Weebly.
—
CSS LESSON 3 Assignment:
- Using a pixel font size is most closely related to using a font size in which Microsoft program?
- Why are ems considered best practice?
- Put these font sizes into ems: 70px, 36px, 10px
- Practice using ems with both a subheading and a body paragraph. Take a screenshot of both the CODE and RUN.
- What are the four link states? How will you remember them (and their order)?
- Practice using these states by styling them with color, declarations, and backgrounds. Take a screenshot of both the CODE and RUN.
- Go ahead and find a cursor that works for you and demonstrate your mastery of this code by taking a screenshot of RUN. <— It won’t show up in a screenshot, but I do want to see the code.
- Review the CSS background section. Do not get too technical here. I’ve always wanted my background to stretch to all screen sizes and now there’s an easy way to accomplish this. Use this link and copy the first example. Find a background picture and take a screenshot of both the CODE and RUN to show me that it works.
- WHEN FINISHED, take a screenshot of your CODE and RUN components. Post to Weebly.
—
CSS IMPLEMENTATION Assignment:
Be sure to modify ADD the following to your website (as an individual or team).
- An ID or CLASS that changes the color of a subheading.
- Add a CSS INVISIBLE COMMENT TAG.
- Change a subheading to a GOOGLE FONT.
- Change a subheading to an EM SIZE.
- CSS STYLE your links. Use a BACKGROUND CHANGE (and anything else that you may like.)
Remember, uniformity is important in web design. The changes you made on your subheadings and links need to be modified on all pages.
—
CSS LESSON 4 Assignment:
- Of the examples you saw from the website I gave to you or by researching on your own, which 404 page did you like the best? Take a screenshot of it. Briefly discuss your plan of action for creating your own. What are your initial thoughts? Grab a piece of white paper, sketch it out, take a picture of your rough masterpiece, and post it. Even Google has one. 🙂 YOU MAY COMPLETE THIS ASSIGNMENT WITH YOUR PARTNER!
- In order to get it to work, your favicon file must be on the outside of your images folder.
—
Lesson FAVICON:
- Get your favicon on! <3
—
Lesson BULLETS:
- Create picture bullets. Here is a nice website that outlines the specifics for this!
—
Lesson SURVEY/FORM:
- Create a SurveyMonkey or Google form for website feedback. Five questions (4 multiple choice-ish and 1 open ended).
- Does my website… Which repurpose page did you… How can I…
—
CODE ACADEMY:
- Complete the tutorials in the HTML/CSS Section of Codeacademy. For the last 10 minutes of class, write a 5-7 sentence summary of your learning and post a screenshot of something you accomplished within the hour.
ADOBE CC:
- Complete tutorials in Adobe Creative Cloud using this link. Begin with this lesson as a warm-up. 🙂
—
***ANIMATIONS***
Brainstorm your idea(s). Draw it out using THIS storyboard: Storyboard_TC. Draw your frames, mark the time, and write a description of the action. Create your individual layers in our classroom first. By doing so, you will not waste as much time! Move, rotate, animate, and place in the library using CS6. Each animation assignment is worth 10 points!
Animation Lesson 8 Assignment:
- Create your own animated .gif name using the video tutorial(s) as a guide! When your finished, show me your .gif in class.
- Go to file, export, save for web in your CREATIVE CLOUD version.
- DON’T FORGET TO SAVE YOUR GRAPHIC AS A PHOTOSHOP FILE!
Animation Lesson 9 Assignment:
- Download the fish and banner from the K drive (Jackie is amazing!)
- Create the fish frame tweens for a smooth transition. When finished, show me your .gif in class.
- DON’T FORGET TO SAVE YOUR GRAPHIC AS A PHOTOSHOP FILE!
Animation Lesson 10: Assignment:
- Let’s try video animation positioning using keyframes!
- Create your own keyframe animation using two different objects. Don’t be a perfectionist as this will not be your real animation. When finished, show me your .gif in class.
- DON’T FORGET TO SAVE YOUR GRAPHIC AS A PHOTOSHOP FILE!
Animation Extra (Not Required):
- Check it out for other simple ideas.
—-